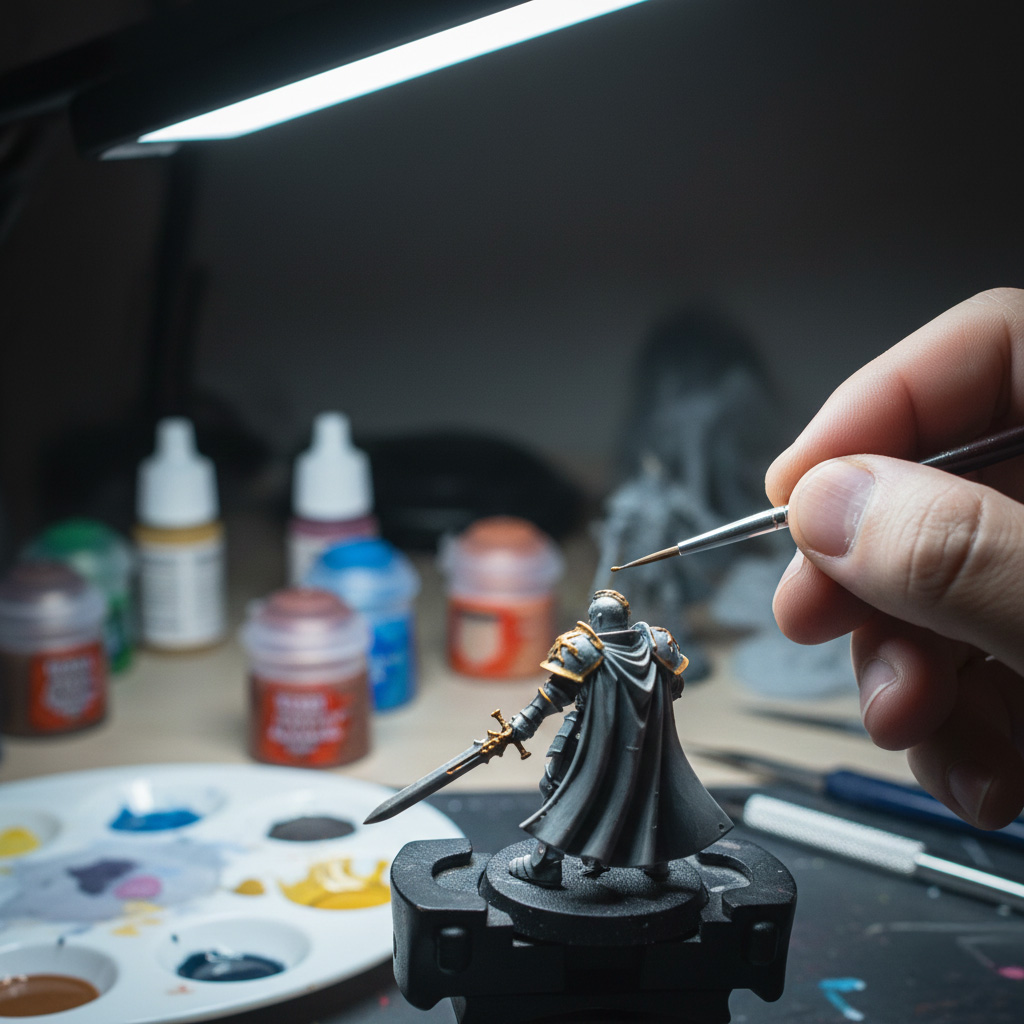
Miniature painting is a captivating hobby that combines artistic expression with the strategic world of tabletop gaming and the satisfaction of creating something tangible. Whether you’re a seasoned artist or a complete beginner, diving into the world of miniature painting can be an incredibly rewarding experience. This comprehensive guide will walk you through everything you need to know to get started, from essential supplies to advanced techniques, helping you transform blank plastic or metal figures into stunning works of art.
Before you can begin painting, you’ll need to gather some essential supplies. Investing in quality tools from the outset will make the process smoother and more enjoyable.
-
-
Miniatures: Obviously! Start with plastic miniatures as they are typically easier to work with and more affordable than metal or resin. Consider figures with larger, simpler details as you learn.
-
-
-
Paints: Acrylic paints are the standard for miniature painting due to their fast drying time, durability, and ease of cleanup. Brands like Vallejo, Citadel, and Army Painter are popular choices. A starter set with a variety of colors is a great option.
-
-
-
Brushes: Quality brushes are crucial. Invest in a set with different sizes and shapes. Look for synthetic brushes specifically designed for miniature painting, as they hold their shape well and are durable. Round brushes are essential for detail work, while flat brushes are useful for base coating and dry brushing.
-
-
-
Primer: Primer is a crucial first step to help paint adhere to the miniature and provide a smooth surface. Spray-on primers are convenient, but brush-on primers are also available. Choose a primer color that complements your intended color scheme (e.g., black for dark schemes, white for bright schemes).
-
-
-
Palette: A wet palette is highly recommended. It keeps your paints moist and prevents them from drying out too quickly. You can buy a commercially made wet palette or easily create your own using a sponge and parchment paper.
-
-
-
Hobby Knife: A hobby knife (like an X-Acto knife) is essential for removing mold lines and cleaning up any imperfections on the miniature before painting.
-
-
-
Glue: Super glue (cyanoacrylate) or plastic glue is needed to assemble multi-part miniatures.
-
-
-
Clippers: Clippers are used to carefully remove miniature parts from the sprue (the plastic frame that holds the parts).
-
-
-
Varnish: Varnish protects your painted miniatures from wear and tear. Matte varnish is generally preferred for a realistic finish, but gloss varnish can be used for specific effects.
-
-
-
Water Pot: For rinsing your brushes.
-
-
-
Paper Towels: For wiping excess paint off your brushes.
-
Preparing Your Miniature for Painting
Proper preparation is key to achieving a professional-looking finish.
-
- Assembly: Assemble the miniature according to the instructions, using glue to join the parts.
-
- Removing Mold Lines: Carefully remove mold lines (the thin ridges of plastic left over from the molding process) with a hobby knife. This is a crucial step, as mold lines will be very noticeable after painting.
-
- Washing: Wash the assembled miniature with warm soapy water to remove any oils or residue that may prevent the primer from adhering properly.
-
- Priming: Apply a thin, even coat of primer to the entire miniature. Hold the spray can about 10-12 inches away from the miniature and use short, controlled bursts to avoid pooling. If using a brush-on primer, apply thin, even coats. Allow the primer to dry completely before proceeding.
Basic Miniature Painting Techniques
Once your miniature is primed, you can begin painting. Start with the basic techniques and gradually work your way up to more advanced methods.
-
-
Base Coating: This is the foundation of your paint job. Apply a thin, even coat of your chosen base color to the area you want to paint. Multiple thin coats are better than one thick coat, as thick coats can obscure details.
-
-
-
Layering: Layering involves applying progressively lighter shades of a color to build up highlights. Start with a darker shade and gradually add lighter shades, focusing on the areas where light would naturally hit the miniature.
-
- Example: To paint a blue cloak, you might start with a dark blue base coat, then layer on a medium blue, followed by a light blue, focusing on the raised areas.
-
-
-
-
Washing: A wash is a thin, translucent paint that flows into the recesses of the miniature, adding depth and shading. Washes are typically darker colors like black, brown, or sepia. Apply the wash liberally to the entire area and then wick away any excess with a clean brush.
-
- Example: A brown wash applied to a metal armor will bring out the details and make it look more realistic.
-
-
-
-
Dry Brushing: Dry brushing is a technique used to highlight textures and raised areas. Dip your brush into the paint, then wipe off most of the paint onto a paper towel until the brush is almost dry. Then, lightly brush the raised areas of the miniature with the dry brush.
-
- Example: Dry brushing silver paint over black armor will create a weathered, metallic effect.
-
-
-
-
Highlighting: Applying highlights is a key technique for adding visual interest and depth to your miniatures. This involves painting lighter shades of color on the raised areas or edges to simulate the way light would reflect off the surface. Edge highlighting, in particular, involves carefully applying a thin line of a bright color along the edges of armor, weapons, or clothing to create a sharp, defined look.
-
Advanced Miniature Painting Techniques
Once you’ve mastered the basic techniques, you can explore more advanced methods to take your miniature painting to the next level.
-
-
Blending: Blending is a technique used to create smooth transitions between colors. Wet blending involves mixing two colors together on the miniature while they are still wet, creating a gradient effect.
-
-
-
Glazing: Glazing involves applying very thin, translucent layers of paint to subtly shift the color of an area. This is often used to smooth out transitions or add subtle highlights.
-
-
-
Non-Metallic Metal (NMM): NMM is a technique used to simulate the look of metal using non-metallic paints. This involves carefully layering and highlighting to create the illusion of metallic reflections.
-
-
-
Object Source Lighting (OSL): OSL is a technique used to simulate the effect of light emanating from a specific source on the miniature, such as a glowing weapon or torch.
-
-
-
Texturing: Adding texture to your miniatures can enhance their realism and visual appeal. This can be achieved using various methods, such as stippling with a brush, applying textured paints, or using sculpting tools to create surface details.
-
Miniature Basing Techniques
Basing is the process of adding a scenic base to your miniature. A well-based miniature can significantly enhance its overall appearance and tell a story.
-
-
Materials: Common basing materials include sand, flocking, static grass, rocks, and miniature plants.
-
-
-
Process: Apply glue to the base of the miniature and then sprinkle on your chosen basing material. You can also use sculpting putty to create custom terrain features.
-
-
-
Painting: Once the basing material is dry, you can paint it to match your desired theme.
-
Miniature Painting: Tips and Tricks
-
- Thin Your Paints: Always thin your paints with water or a thinner medium to achieve smooth, even coverage.
-
- Use a Wet Palette: This will keep your paints from drying out too quickly.
-
- Practice Makes Perfect: Don’t be discouraged if your first few miniatures don’t look perfect. Keep practicing and experimenting with different techniques.
-
- Seek Inspiration: Look at other people’s miniatures online for inspiration.
-
- Take Breaks: Miniature painting can be tiring. Take breaks to avoid eye strain and fatigue.
-
- Protect Your Work: Apply a coat of varnish to protect your painted miniatures from wear and tear.
-
- Document Your Progress: Taking photos of your work before, during, and after can help you see how far you’ve come and learn from your mistakes.
Conclusion
Miniature painting is a rewarding and creative hobby that offers endless possibilities for artistic expression. By mastering the essential techniques and experimenting with different methods, you can transform ordinary miniatures into stunning works of art. Remember to be patient, practice consistently, and enjoy the process of bringing your miniature visions to life. So, grab your brushes, prepare your paints, and embark on your miniature painting journey today!
Frequently Asked Questions (FAQs)
1. What is the best type of paint for miniature painting?
Acrylic paints are the most commonly used and recommended type of paint for miniature painting due to their durability, fast drying time, and ease of use. Brands like Vallejo, Citadel, and Army Painter are popular choices among miniature painters.
2. How important is priming a miniature before painting?
Priming is very important. It creates a surface that the paint can properly adhere to, prevents chipping, and helps to bring out details.
3. What is a wet palette and why should I use one?
A wet palette is a container designed to keep your paints moist while you’re painting. It consists of a sponge or absorbent material that is kept wet, covered with a layer of parchment paper. It prevents paints from drying out too quickly, saving paint and making blending easier.
4. How do I prevent brush strokes from showing on my miniatures?
Thinning your paints is the key to avoiding brush strokes. Applying multiple thin coats of paint will result in a smoother finish than applying one thick coat.
5. How do I fix mistakes when painting miniatures?
If you make a mistake, simply wait for the paint to dry completely and then carefully paint over the mistake with the correct color. You can also use a wet brush to wipe away mistakes while the paint is still wet.
6. What is the best way to protect my painted miniatures?
Applying a coat of varnish is the best way to protect your painted miniatures from wear and tear. Matte varnish is generally preferred for a realistic finish, but gloss varnish can be used for specific effects.
7. Where can I find inspiration and tutorials for miniature painting?
There are many online resources for miniature painting inspiration and tutorials, including YouTube channels, blogs, and online forums. Searching for specific techniques or paint schemes can also provide valuable guidance.